Google Analytics Shopify Tracking Using Elevar
When it comes to tracking on Shopify using Google Analytics, Elevar is a highly regarded tool that provides a powerful and effective solution for merchants. Google Analytics is a robust tool that helps you understand visitor behavior and purchasing habits on your online store, but setting it up and leveraging its full potential on Shopify can require some expertise. In this article, we will explore how to use Elevar to streamline this process, enabling you to better harness the capabilities of Google Analytics to optimize your e-commerce business.
Prerequisites
In order to use Elevar, you will need these three (or four):
- Shopify store
You will need a Shopify account. Register here. Follow the registration process and on the admin page you should be able to create a store. Follow the steps needed to create a new store. Usually for free user, you will have 3 days of trial, unless you are a partner you will need to upgrade in order your store to be continued integrates with Shopify - Elevar account
You will need to verify your Credit Card first in order to build an account in Elevar, since Elevar hasn’t accepted a free user registration model yet. Register here. Note that you have a 30 days trial when you are opting as free user and Elevar will charge you right away once the pricing cycle starts after the next 30 days - GA4 and GTM account
GA4 will be the output stream which receives the data that has been processed via GTM. You will need both of these while setting up Elevar for your shopify stores. These are free and you can create them anytime.
Setting up Elevar on your Shopify stores
Once you are registered with an Elevar account, you will be redirected to its dashboard. Here is how it looks like overall:
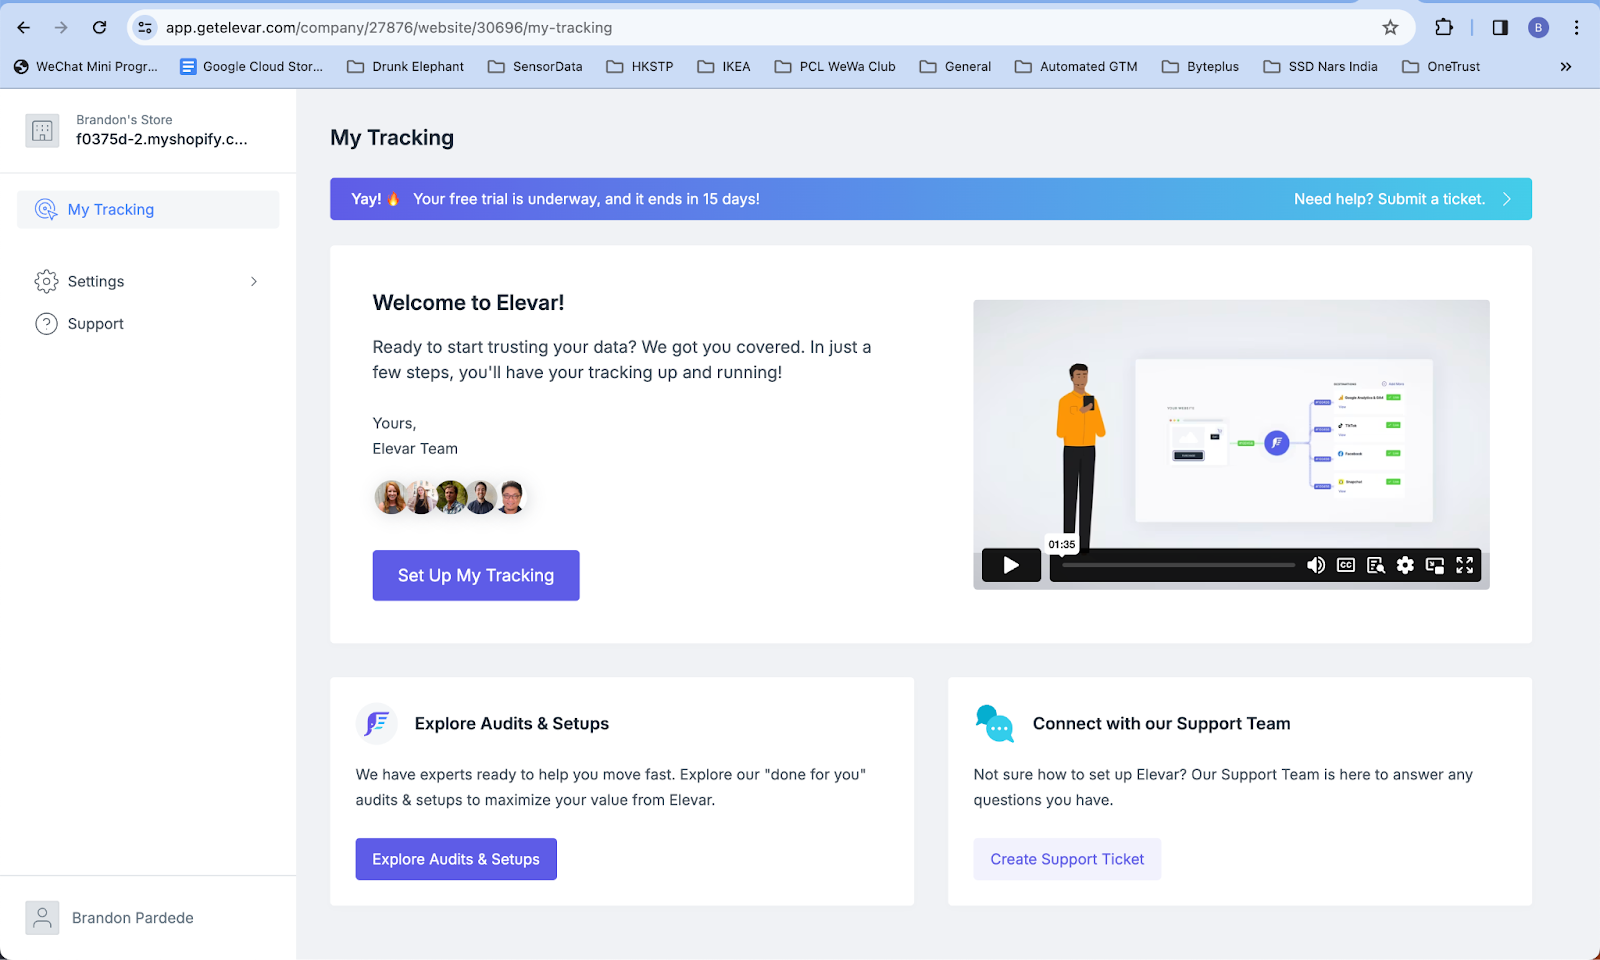
Since we will mainly focus on its Analytics part, we will only cover the Tracking feature Elevar offers. Click on the “Set Up My Tracking” button in the middle of the page. You should see this view coming up on your screen.
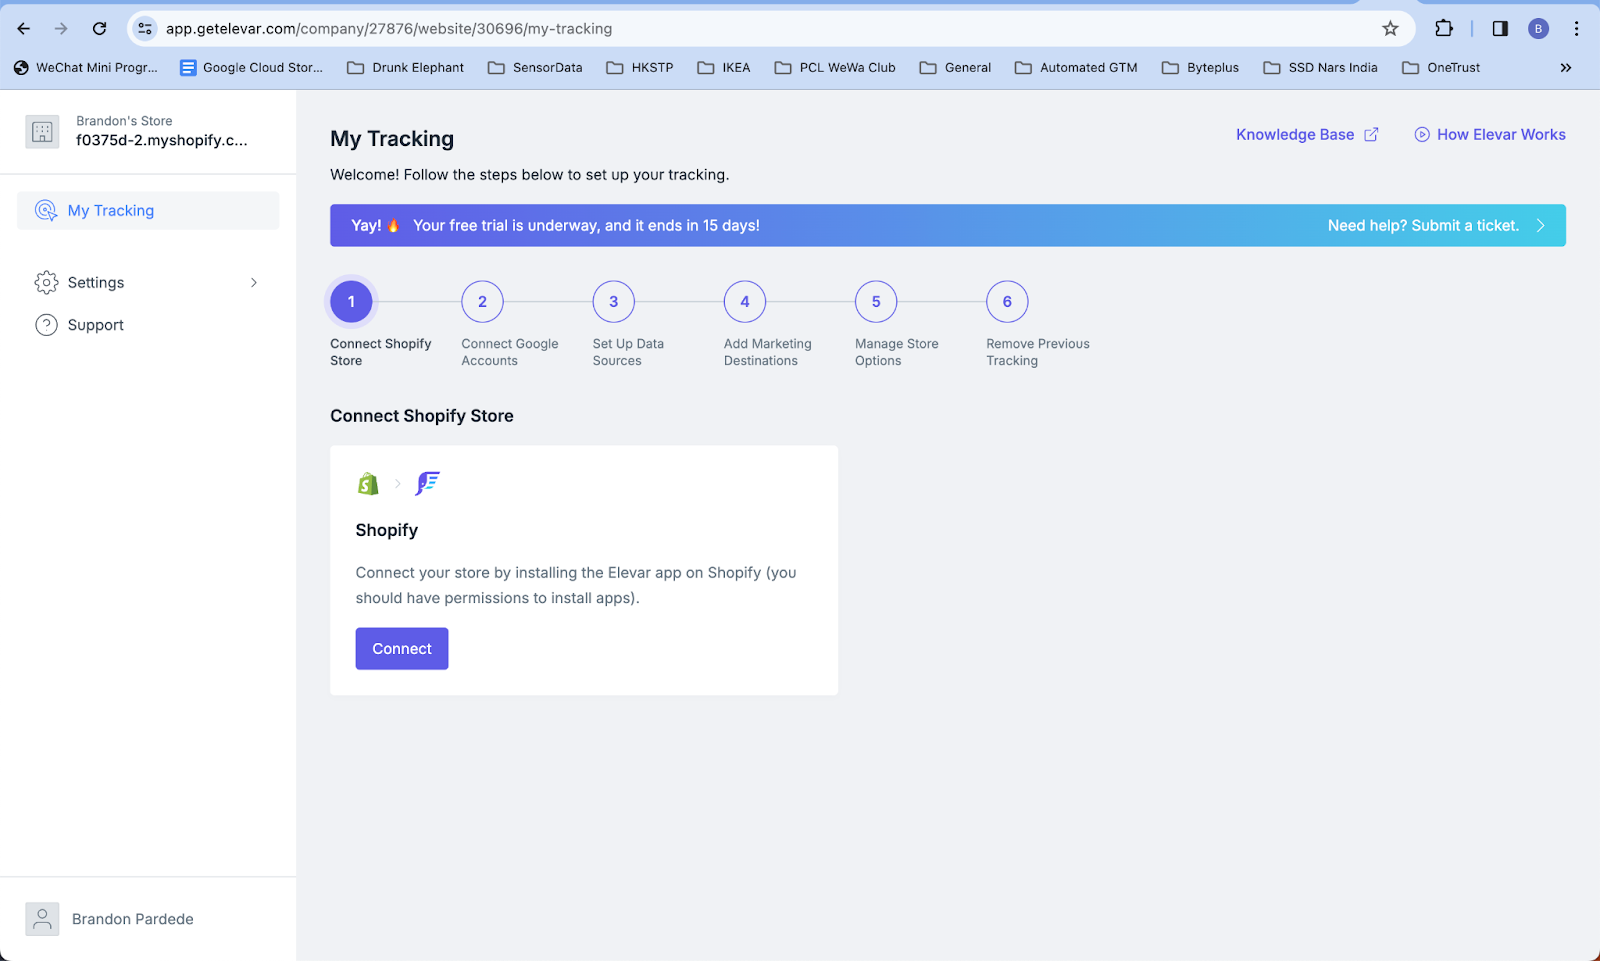
Click on the “Connect” button. You will be redirected to the Shopify App Store to install the Elevar apps in your store.
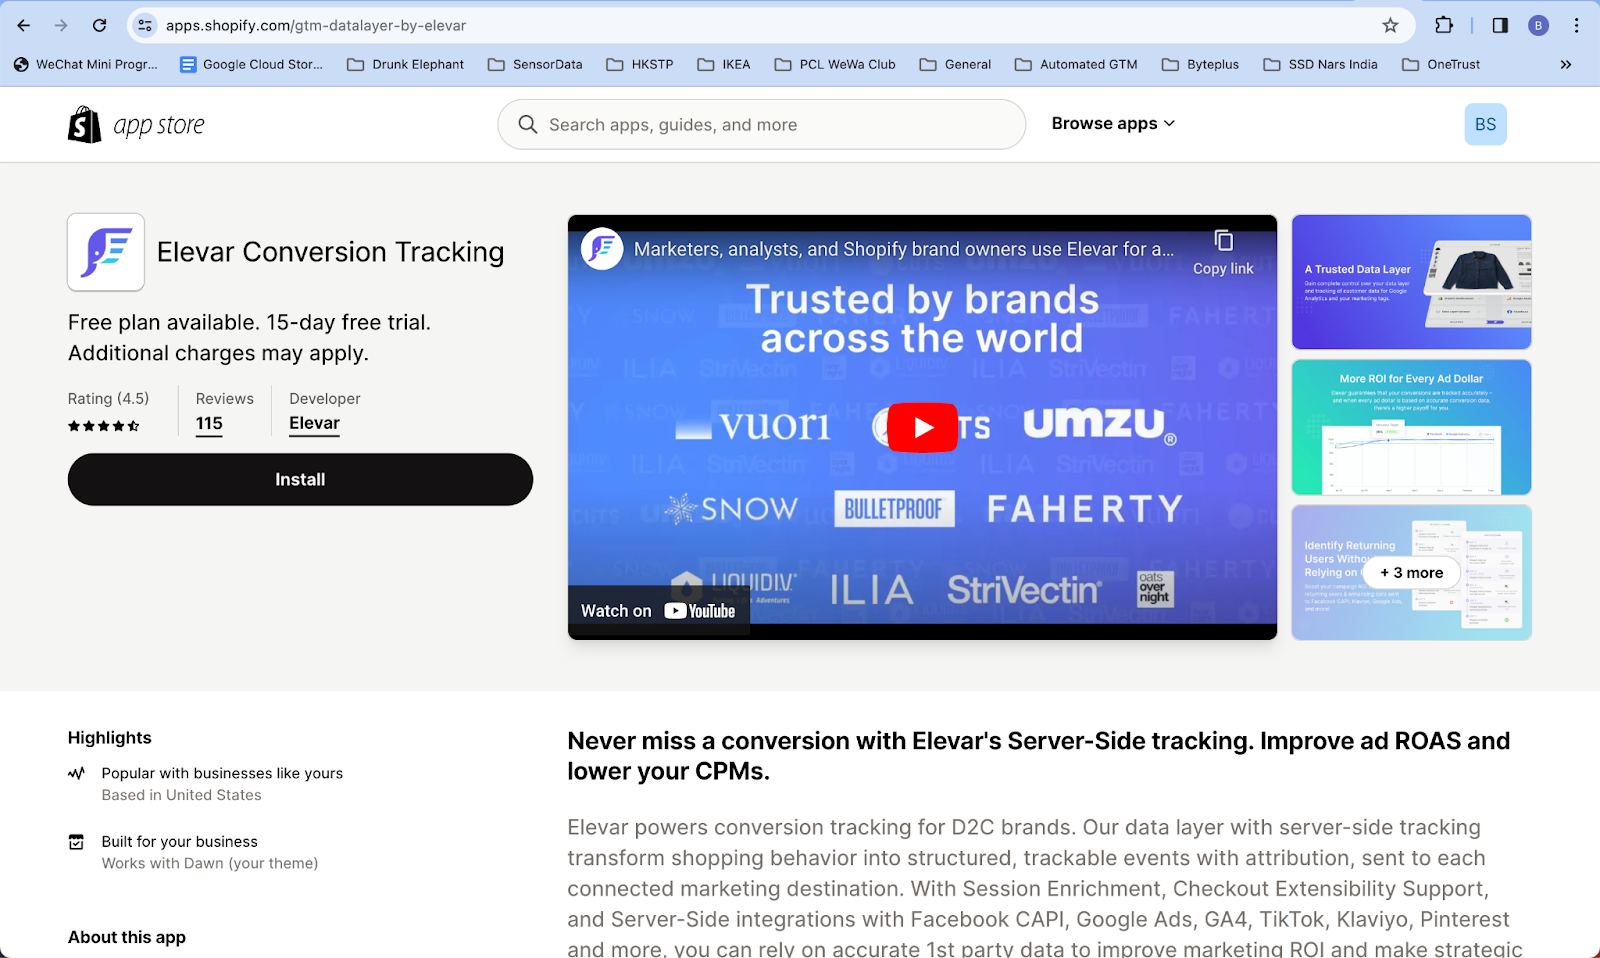
Click on “Install”. You should be redirected to the installation process via Shopify and will be redirected back to the Elevar website. In the Elevar dashboard, you should have completed the first step and will be prompt to authenticate your Google account
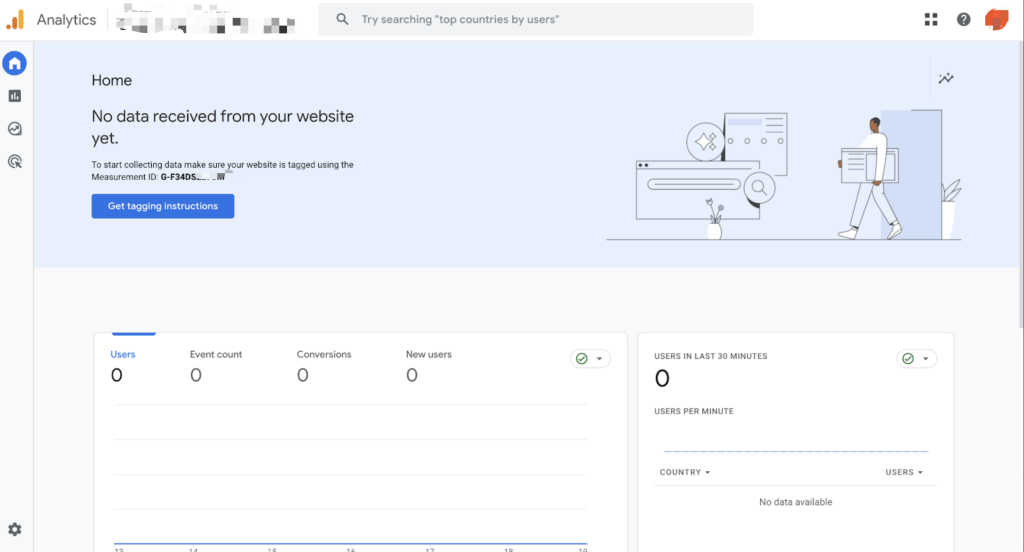
Authenticate with your Google Account where you put the GTM in (and also the GA4 account). Here is an example GTM and GA4 property that I already have set up within my account.
GA4
GTM
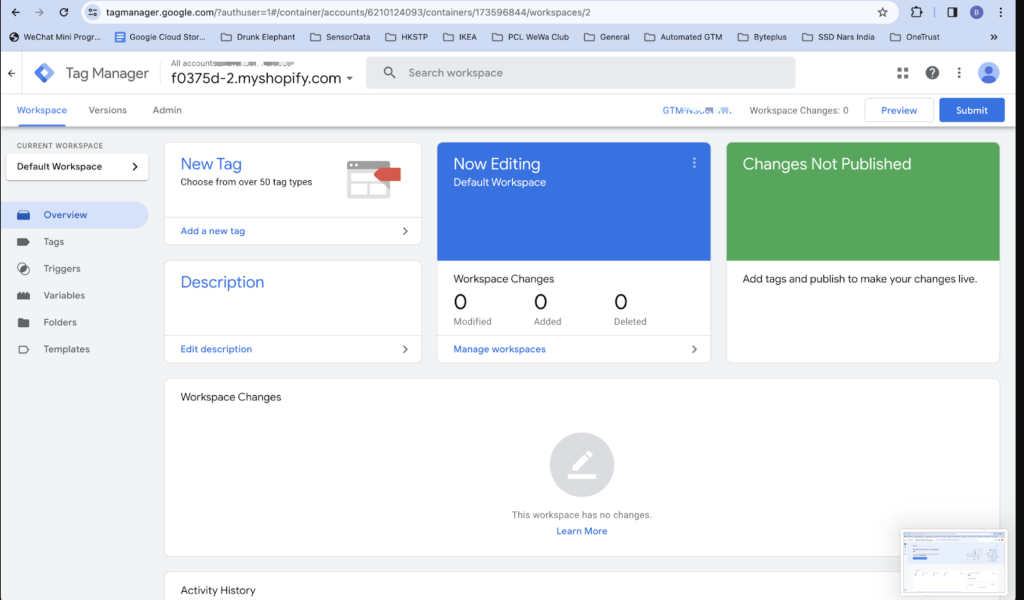
Once you authenticate your account, you should be able to connect Elevar with your GTM.
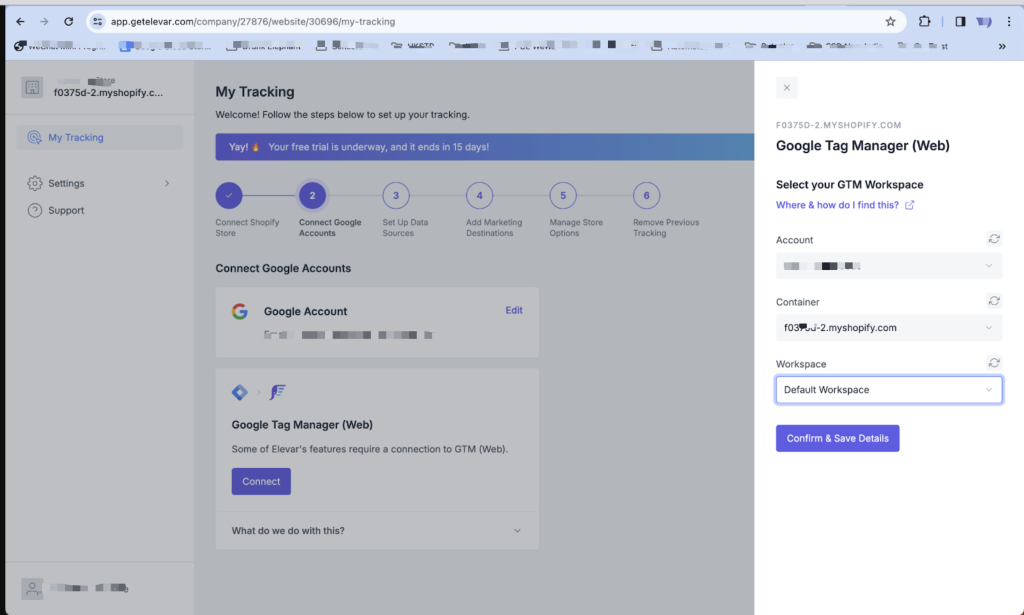
Click on “Confirm & Save Details”. Now you should have finished step number 2.
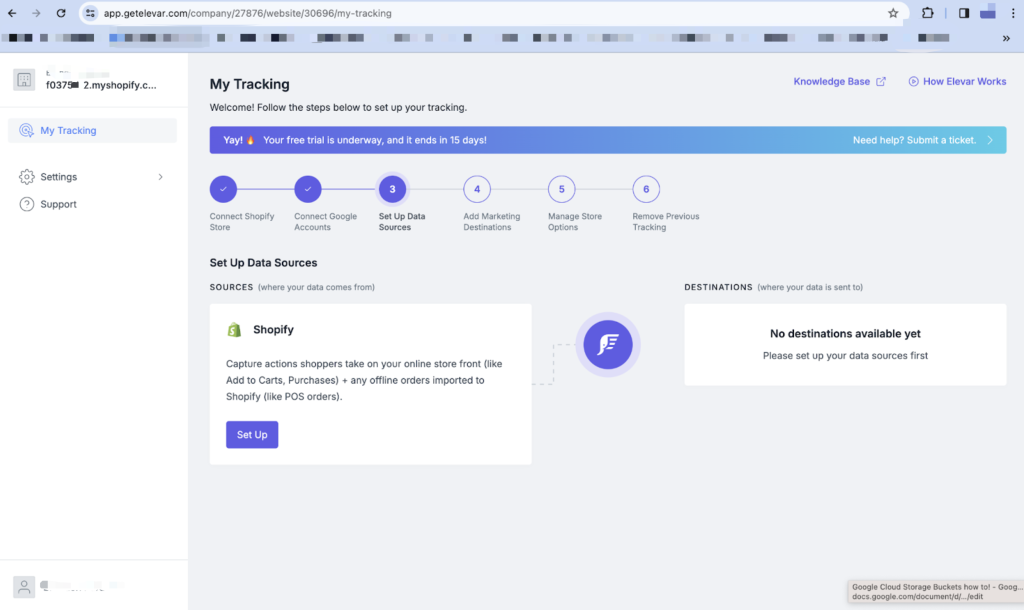
Click on the “Set up” button. And continue until you see this step:
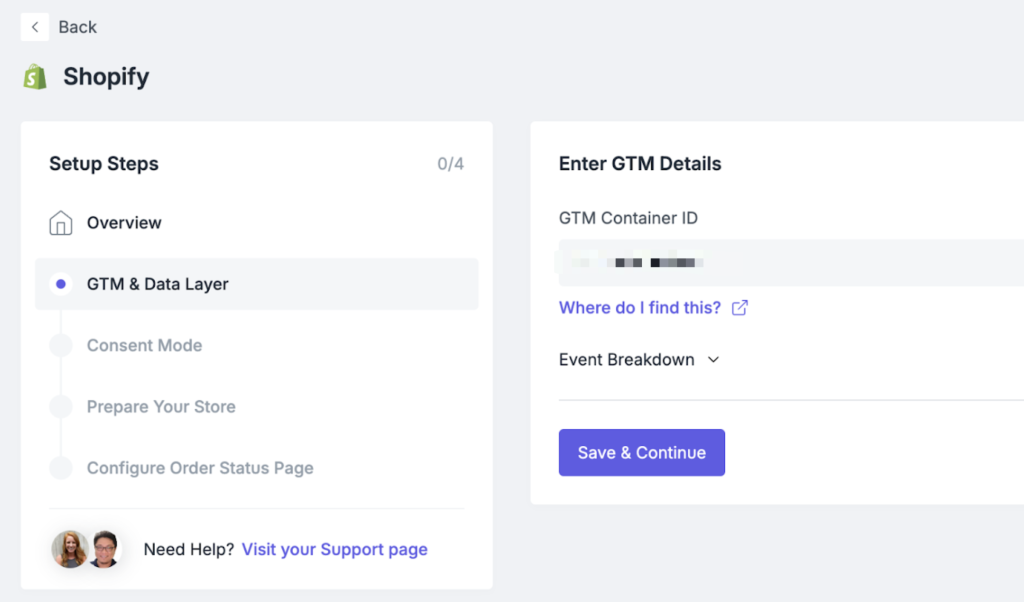
On the “Event Breakdown”, you would notice it is a dropdown that can be opened. Expand it and you should be able to see the events that Elevar will cover in the integration. You can adjust it to a specific use case you like, in this case I will leave it as default.
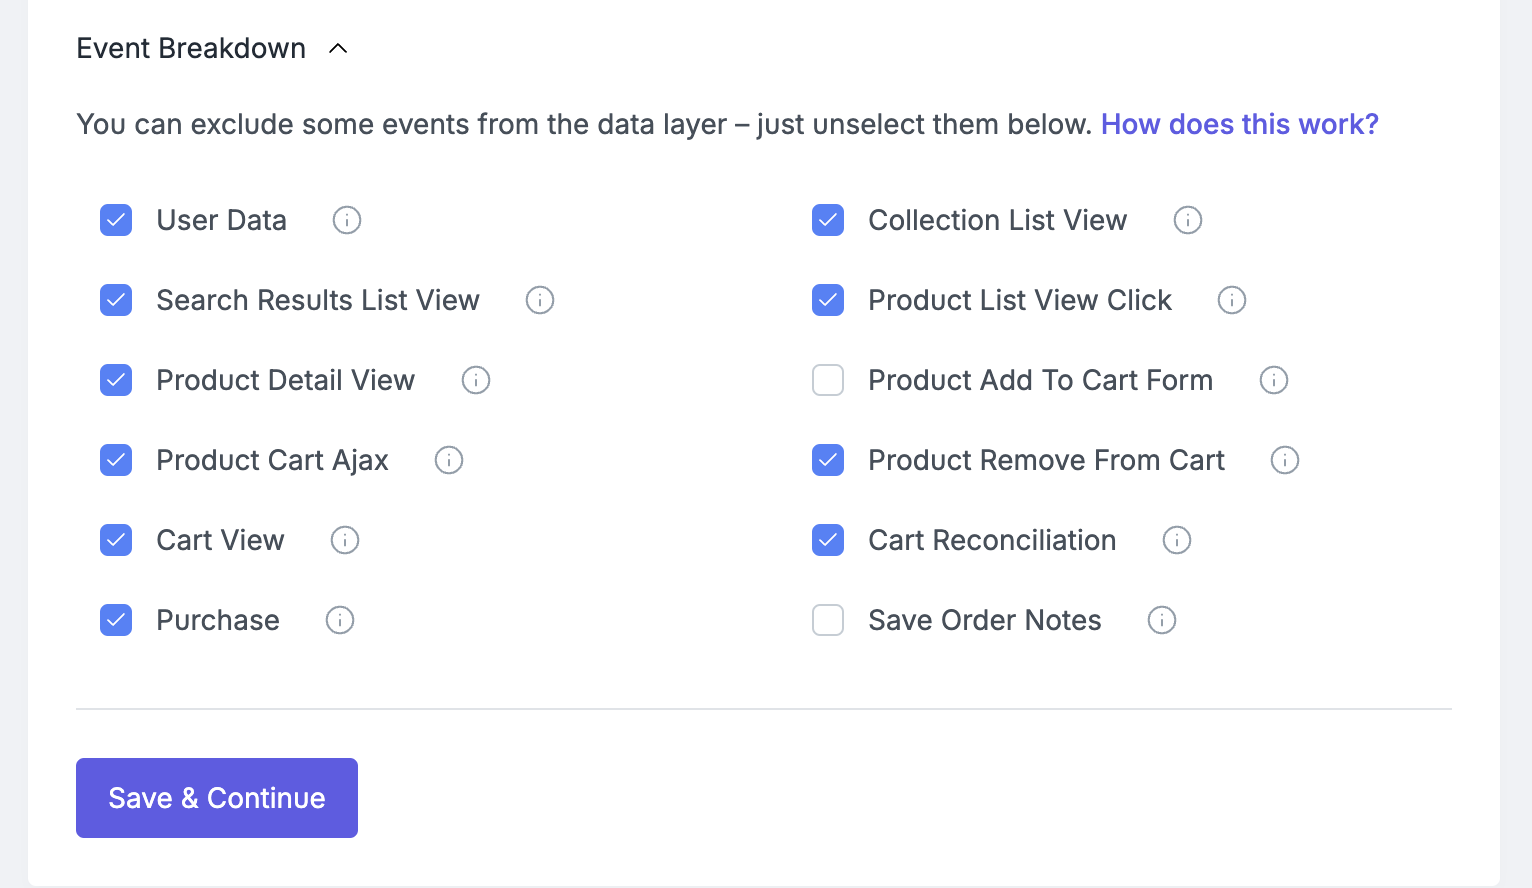
Click on “Save & Continue” until you see the step below.

This is an alert that Elevar gives to make sure you won’t have duplicated snippets in the theme liquid files. Since you will just have created the store, then this issue will not happen at all. Otherwise if you are setting up Elevar in an existing shopify store that has been configured before, you will need to take this into consideration.
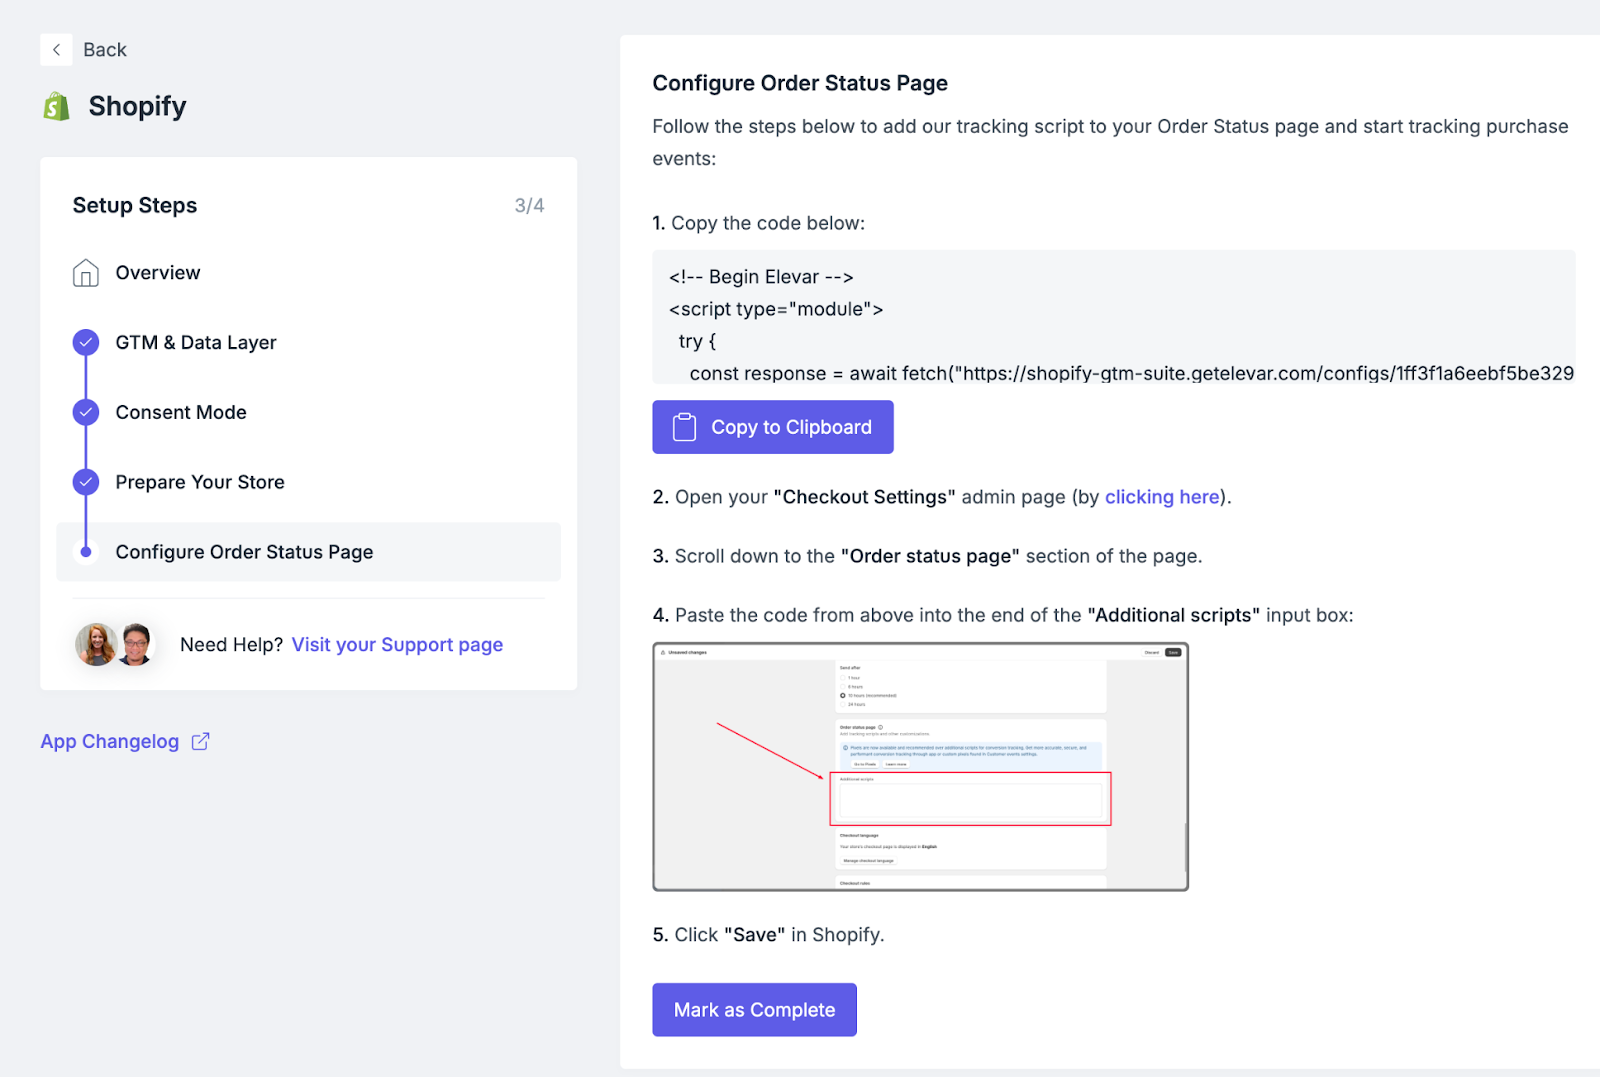
Follow the last step to add the snippets into your Shopify settings.
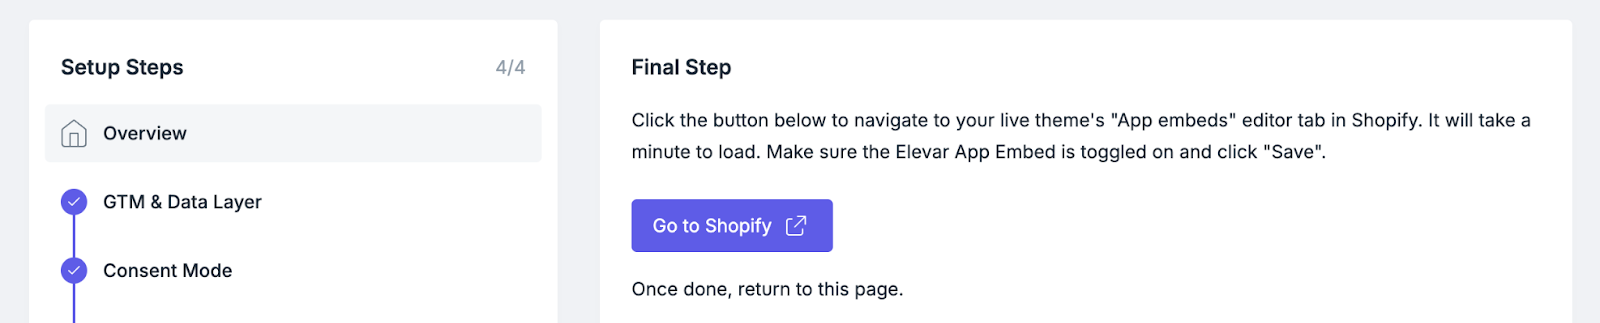
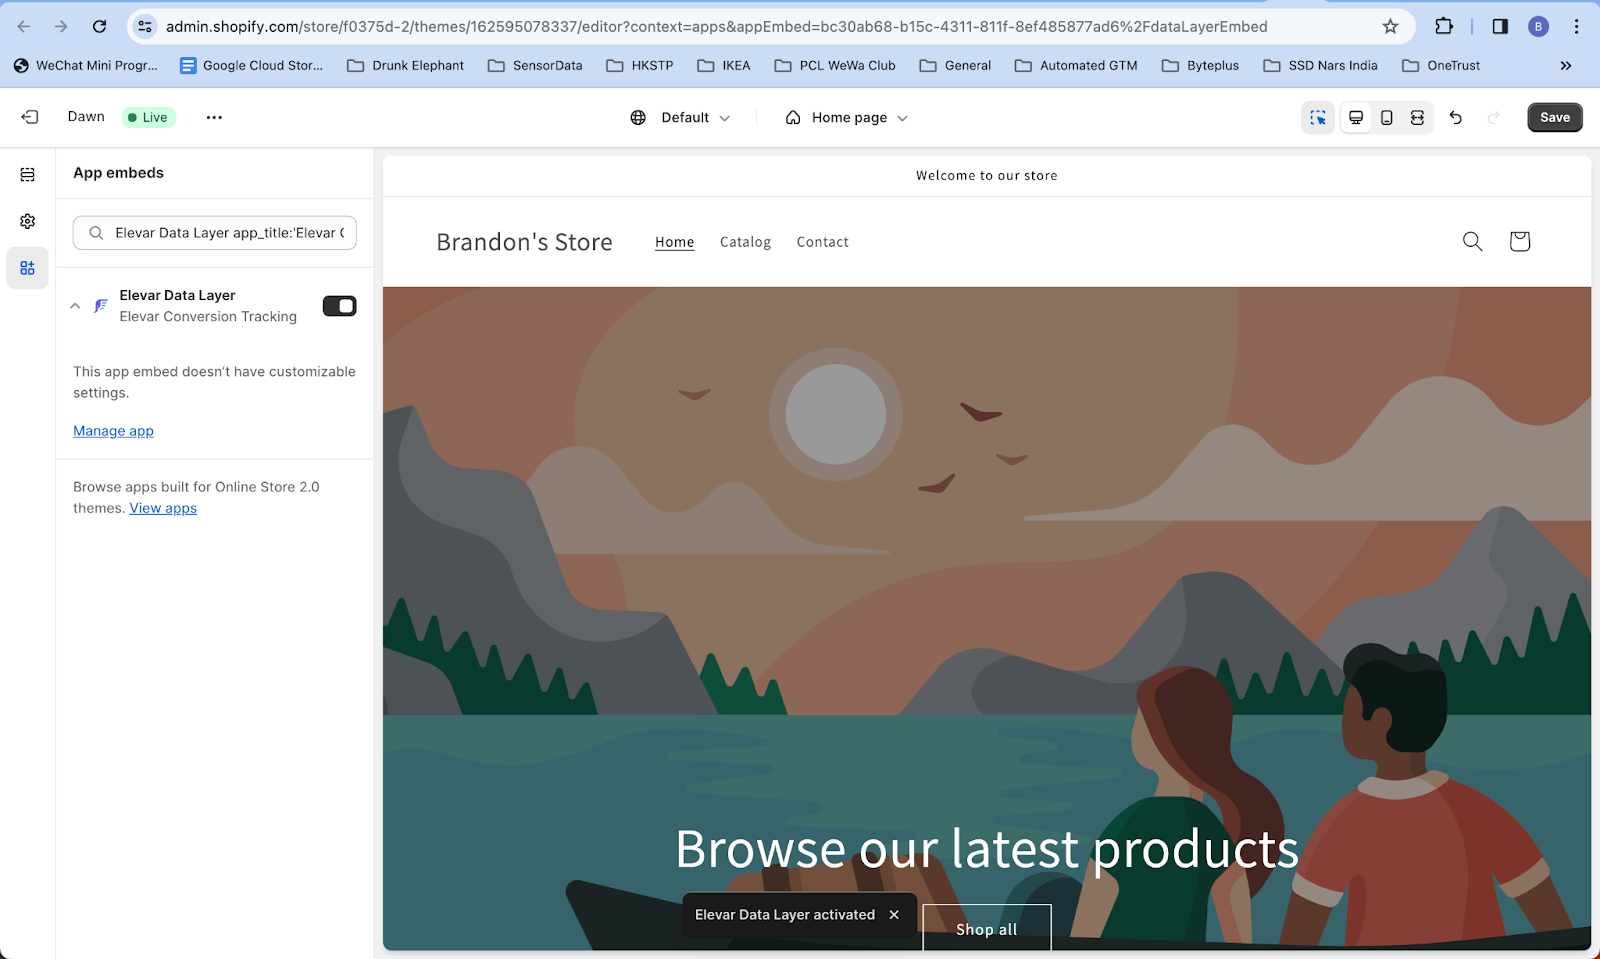
On the last step, you will be prompted to enable Elevar extensions in your Shopify store. Click on the “Go to Shopify” button and you will be redirected into this page. Don’t forget to click on the “Save” button on the top right of the page
Once you register, you can see that the “register” and “login” event is firing. We can verify that this is working.
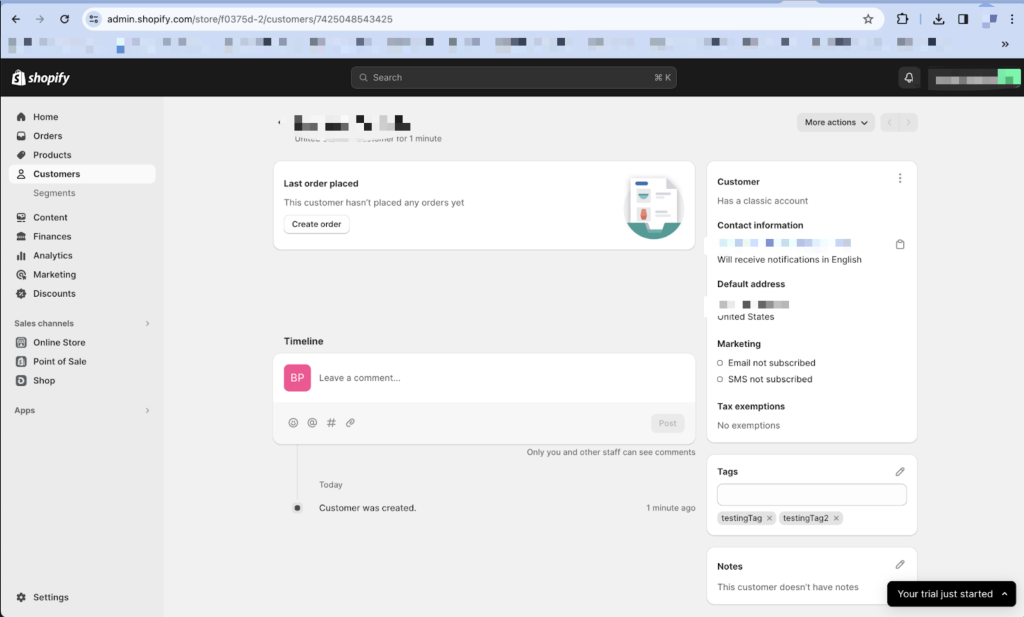
Now, we will test the Custom Dimension behavior that we set up earlier. Navigate to the “Customers” tab, and add any tag to the existing customer there. In this case, I added “testingTag” and “testingTag2”.

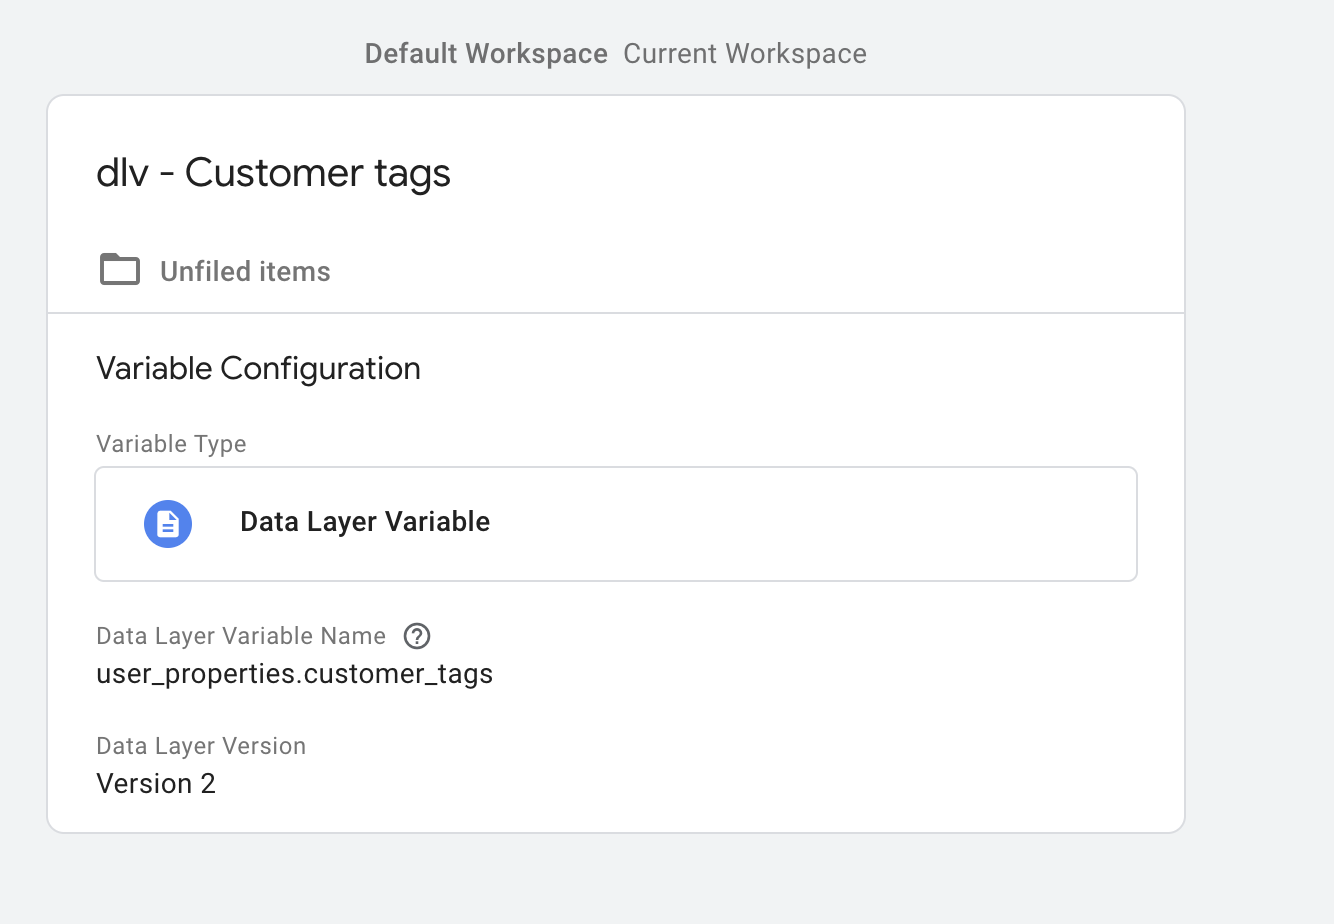
Don’t forget to add the customer_tags to the existing GTM configuration, since Elevar does not have this built in for client side events.
Trigger any events within the shopify store, make sure you already logged in with that modified customer in hand.
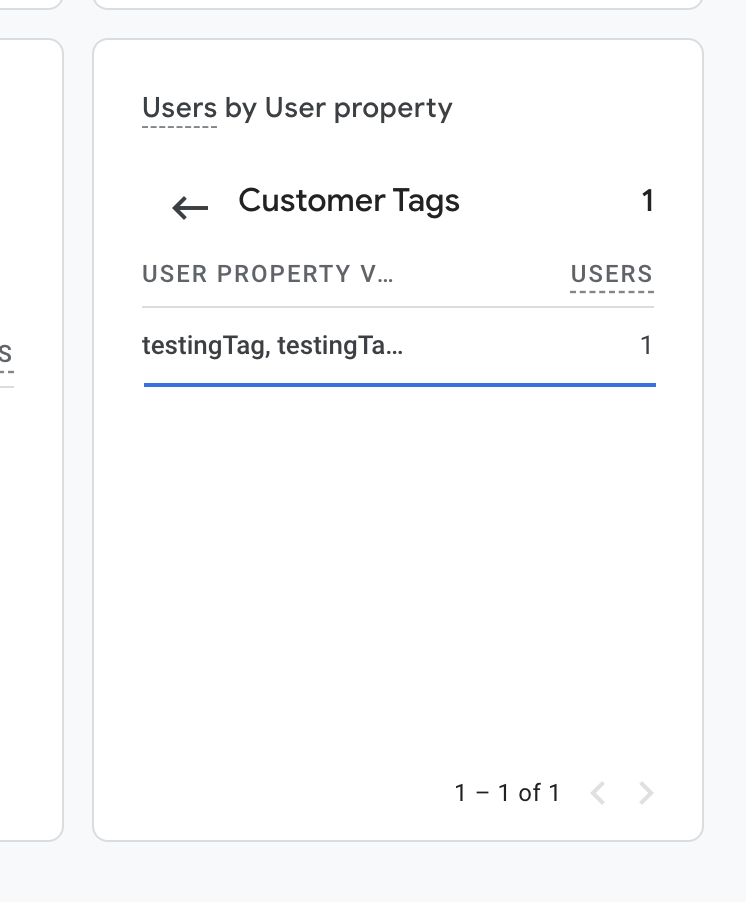
In the real time reports, you can see that the Customer Tags custom dimension is now collected. It means this configuration is valid.
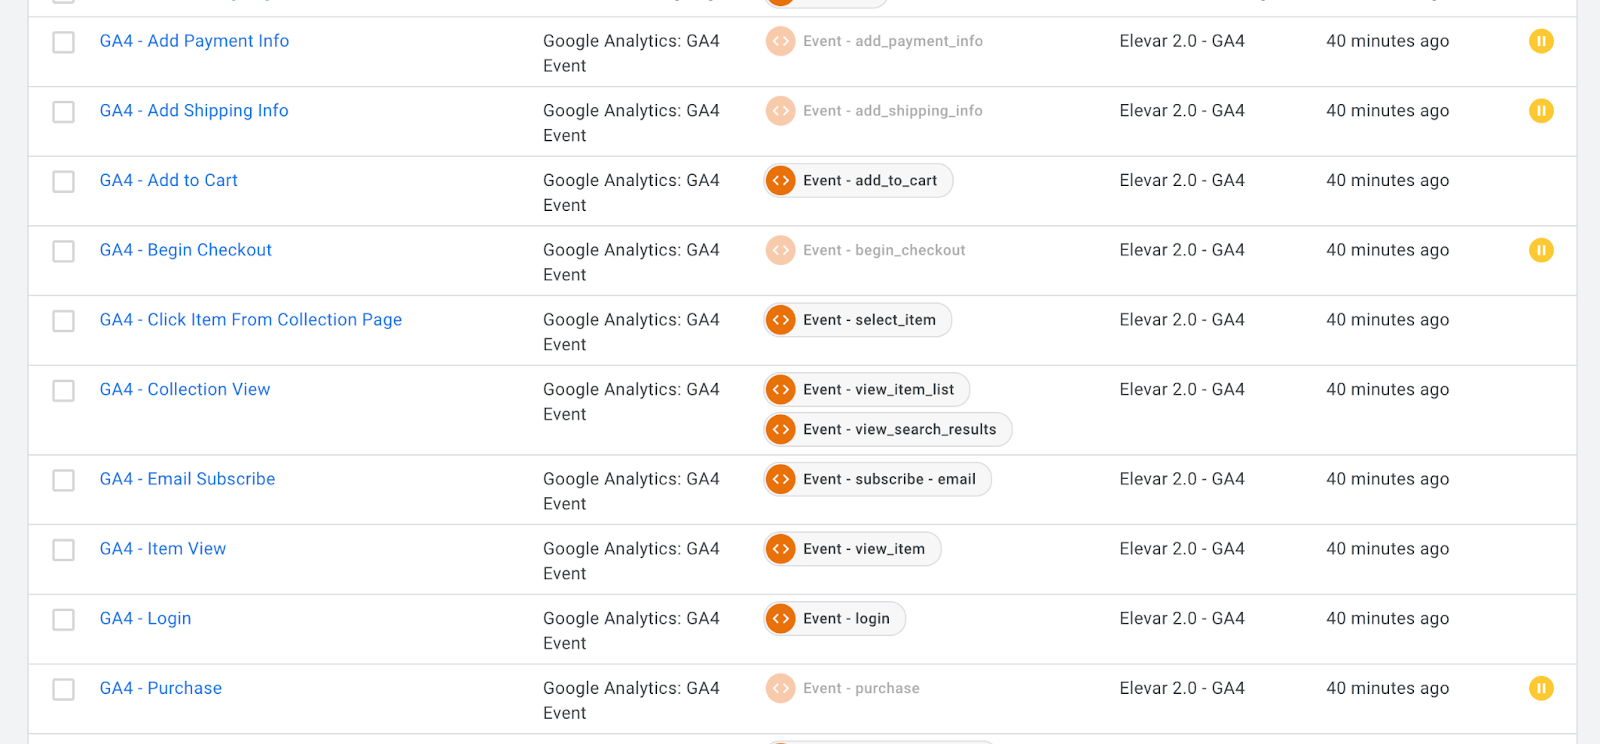
Last, we will check the server side events behavior. You will need to notice first that the server event is by default “Paused” in the GTM container. This is expected because Elevar will send these events via their server, which means it is not using our client side GTM.
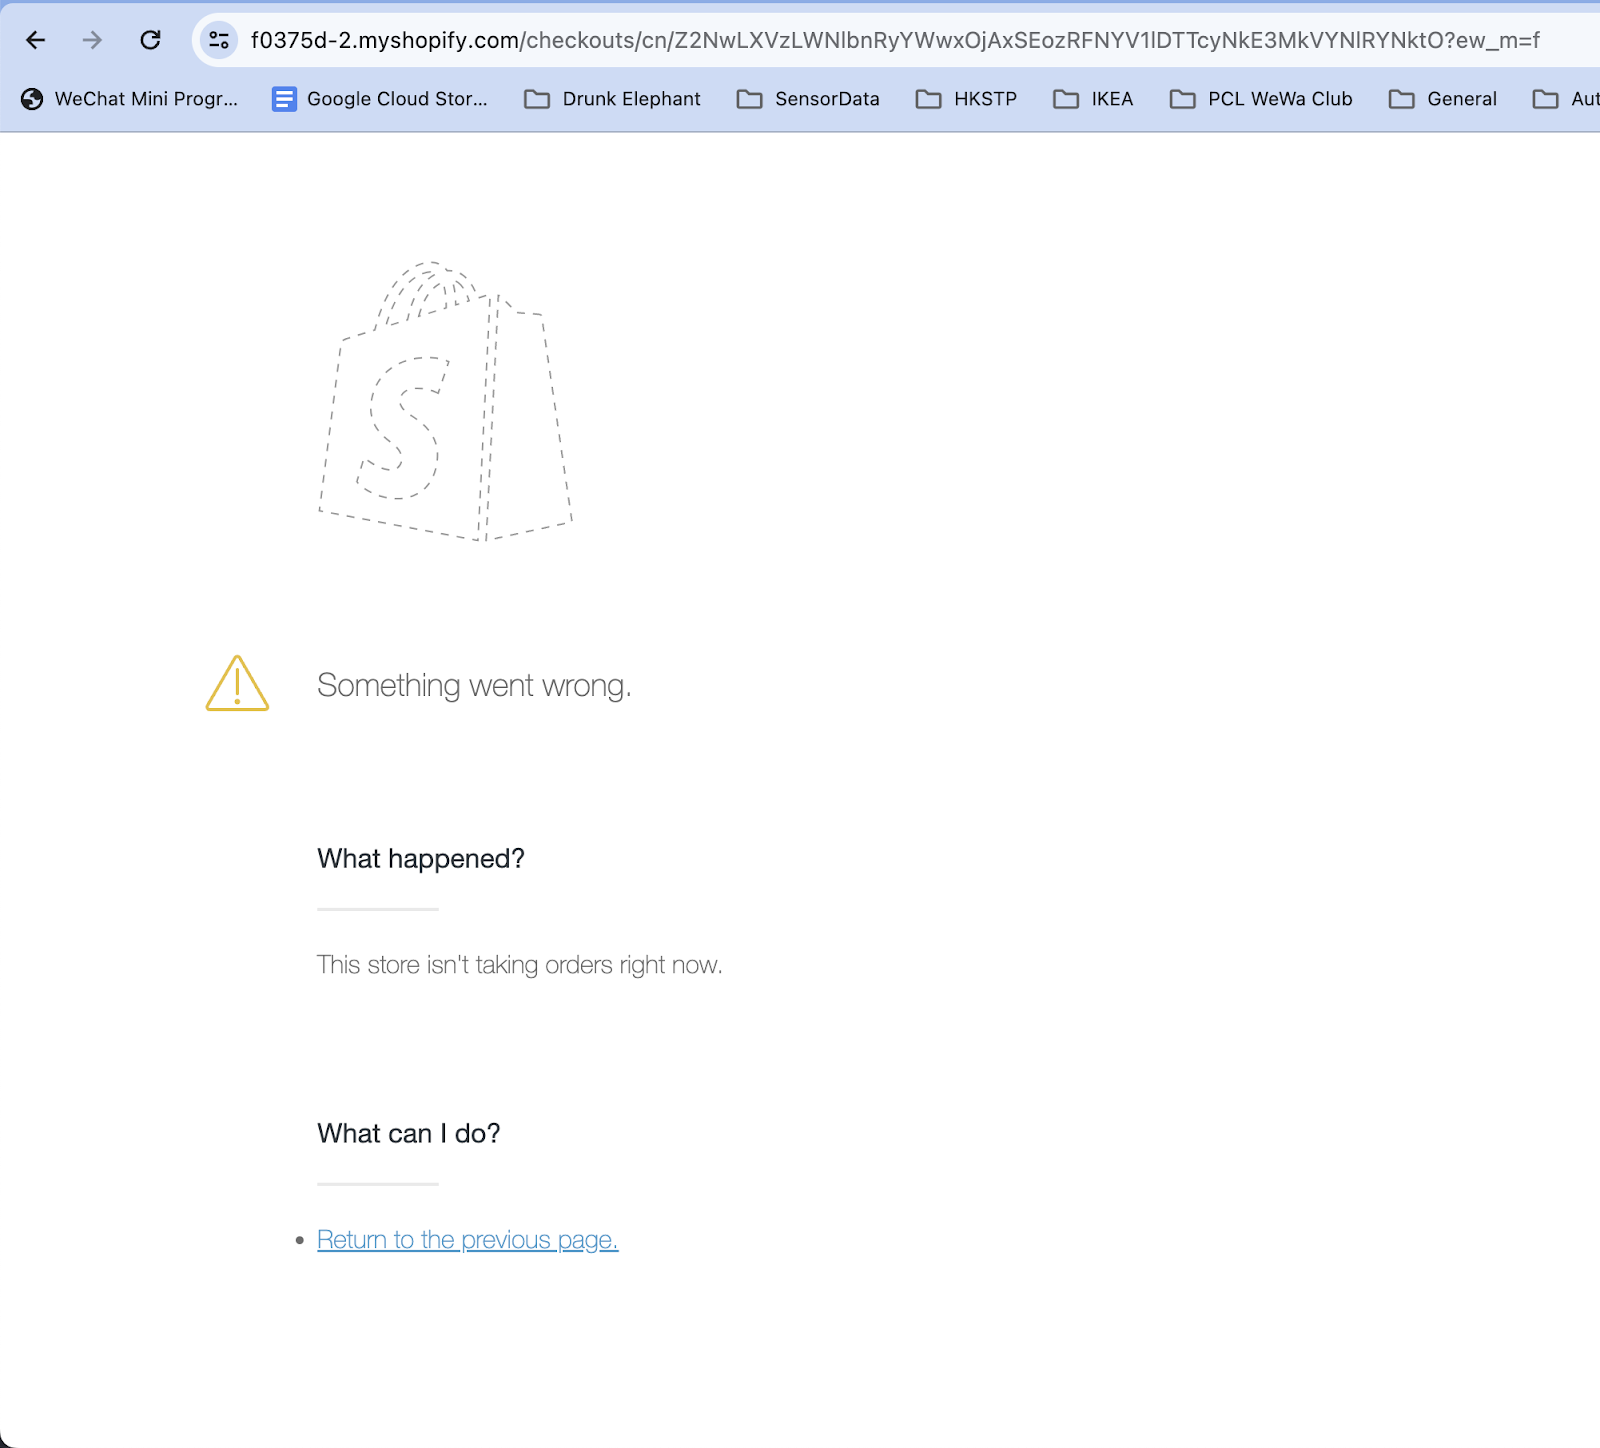
Since Shopify by default disables the Checkout flow for free users, I am unable to make a test checkout at the moment. It requires the user to choose one of either plan, which at the moment I am unable to authorize.
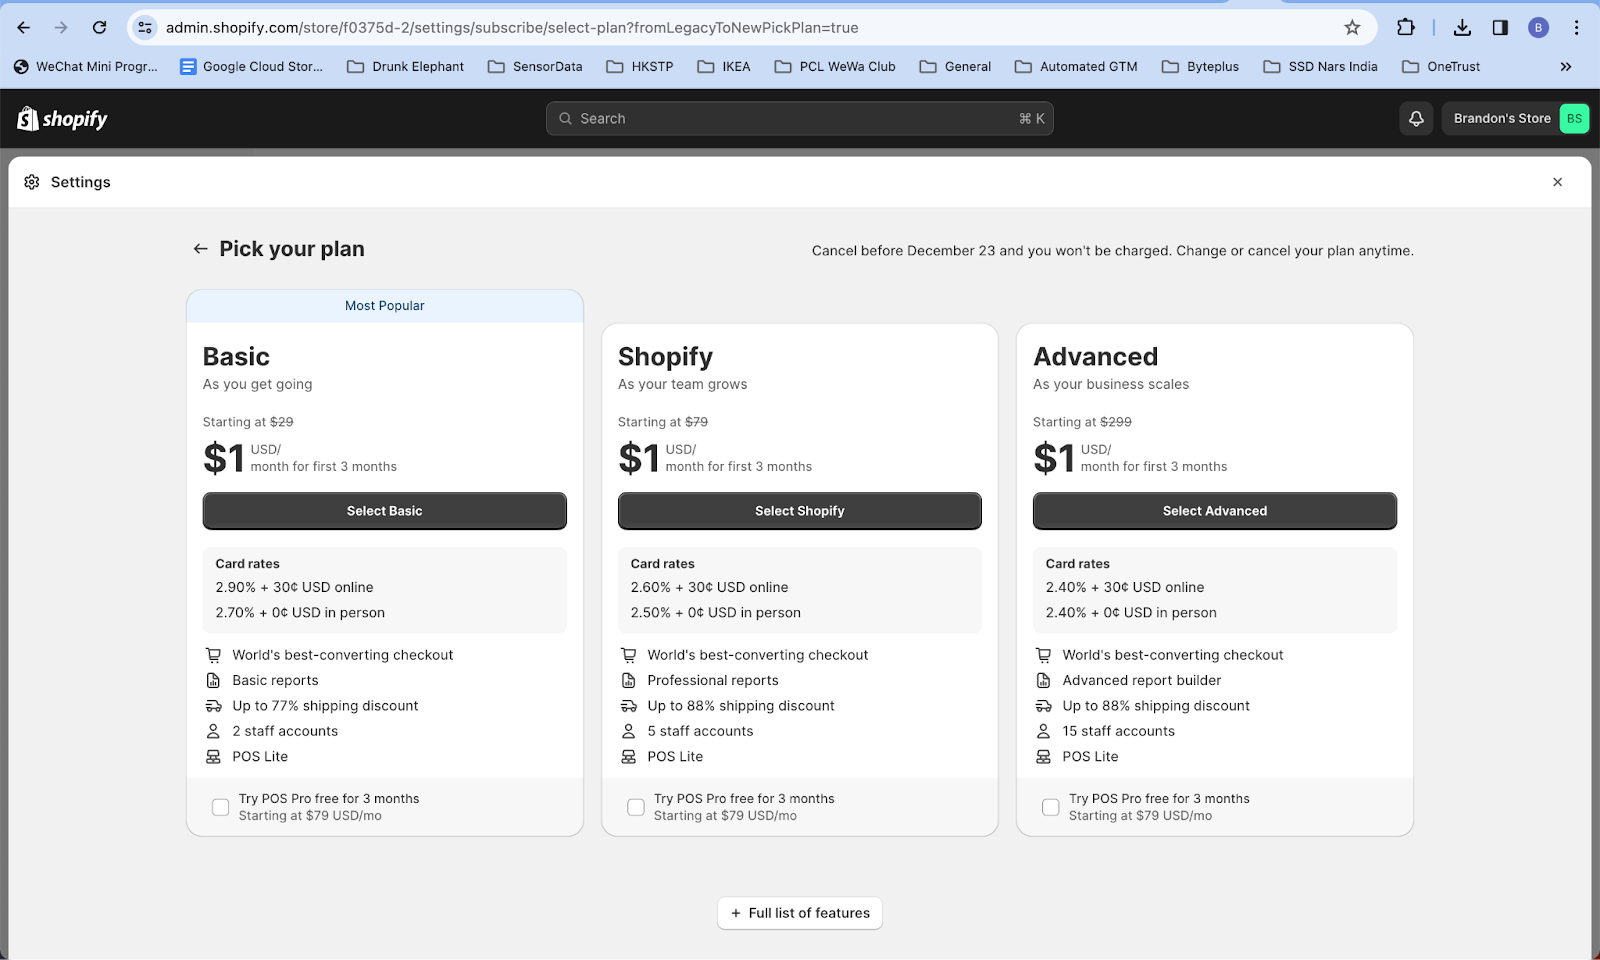
In the meantime, you can opt in to this testing by subscribing to Shopify plan above and see how it goes in action. You should be able to receive the server side data checkout flow successfully and see the report via Realtime in GA4.
If you have finished all above steps, it is safe to say that you have successfully set up seamless analytics integration within your Shopify stores, which includes all requirements it needs to do it. You can also see the actual analytics output data in your GA4 Analytics dashboard and make reports or even custom reports out of it.
Should you have any questions, please feel free to contact me below. It’s been a pleasure to share this journey with Elevar with you 🙂 Thank you!
Frequently Asked Questions (FAQ)
- Q: I see the events in the Realtime reports but not in my “Explore” reports nor standard reports. Why is it?
A: It is expected and common behavior as GA4 will not process the data directly, you will expect the data shows up in your Reports up to 24 hours after the data is flowing in - Q: I don’t see the tag triggers in my Shopify store.
A: After you publish the GTM container, it takes some time for it to actually go live on your site. The workaround of this would be to do the testing via Preview Mode GTM so you can get the actual output before the changes go live.